
NEWS
 Tháng 4 2, 2026
 | wpadmin
How to Lay Decking Tiles on Grass for DIY & Commercial Use
Transforming a lawn into a stylish outdoor space doesn’t always require a major construction project. With modern interlocking deck tiles, you can quickly build a stable and attractive surface, even over grass. This guide will walk you through how to lay decking tiles on grass, why they’re a smart solution for both DIY homeowners and commercial buyers, and which tile types are best suited for retail and trade projects.
Why Deck Tiles Are Ideal for Grass Installations?

Using deck tiles on grass
Deck tiles are an excellent choice for grass areas because they create a stable, attractive, and low-maintenance surface without the need for permanent construction. They’re easy to install over compacted ground, help define outdoor spaces, and offer plenty of design flexibility. For the best results, a foundation of gravel or pavers is recommended to ensure proper drainage and prevent moisture buildup that could damage both the tiles and the underlying soil.
Benefits of Using Deck Tiles on Grass
Benefits of instant deck on grass
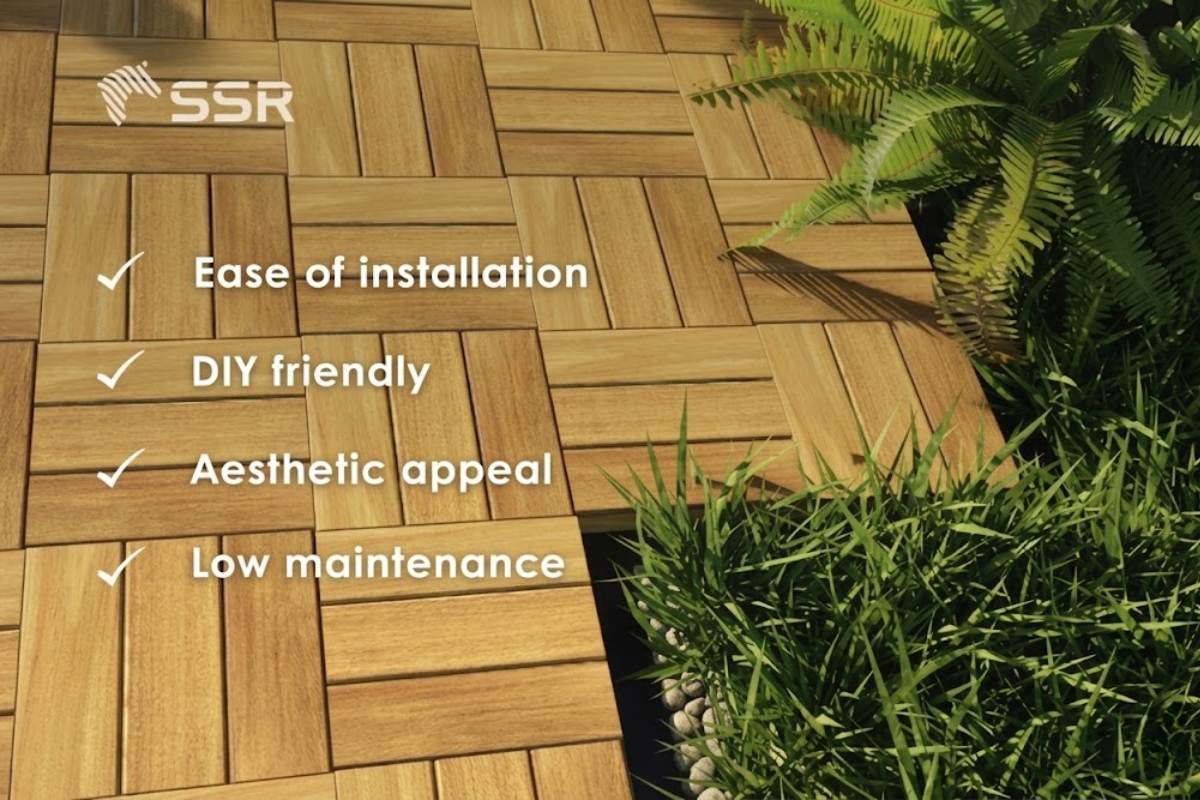
- Ease of installation: Interlocking systems let the tiles snap together quickly, with no need for glue, grout, or heavy construction work.
- DIY friendly: Perfect for homeowners without special tools or professional skills.
- Aesthetic appeal: Available in wood, stone, and other finishes, deck tiles bring a natural and customizable look to any space.
- Low maintenance: Designed for outdoor durability, they withstand the elements with minimal upkeep.
- Versatility: Suitable for patios, garden walkways, play areas, and temporary event flooring.
Important Considerations When Laying Decking Tiles on Grass

Installing wood deck tiles on grass
- Drainage matters: Always build a well-drained, firm base such as compacted gravel to avoid water pooling.
- Preventing moisture damage: Without proper drainage, trapped moisture can cause mold, mildew, rot, or insect problems.
- Surface stability: Grass alone is uneven and unstable. A solid base keeps tiles from sinking and reduces tripping risks.
- Healthier ground: Elevating tiles slightly allows air to circulate, helping the grass and soil underneath stay healthier.
Step-by-Step Guide: How to Lay Deck Tiles on Grass
Deck Tiles Installation Instructions – SSR VINA
Installing deck tiles on grass is straightforward, but preparation is key for long-lasting results.
Step 1 – Prepare the Base
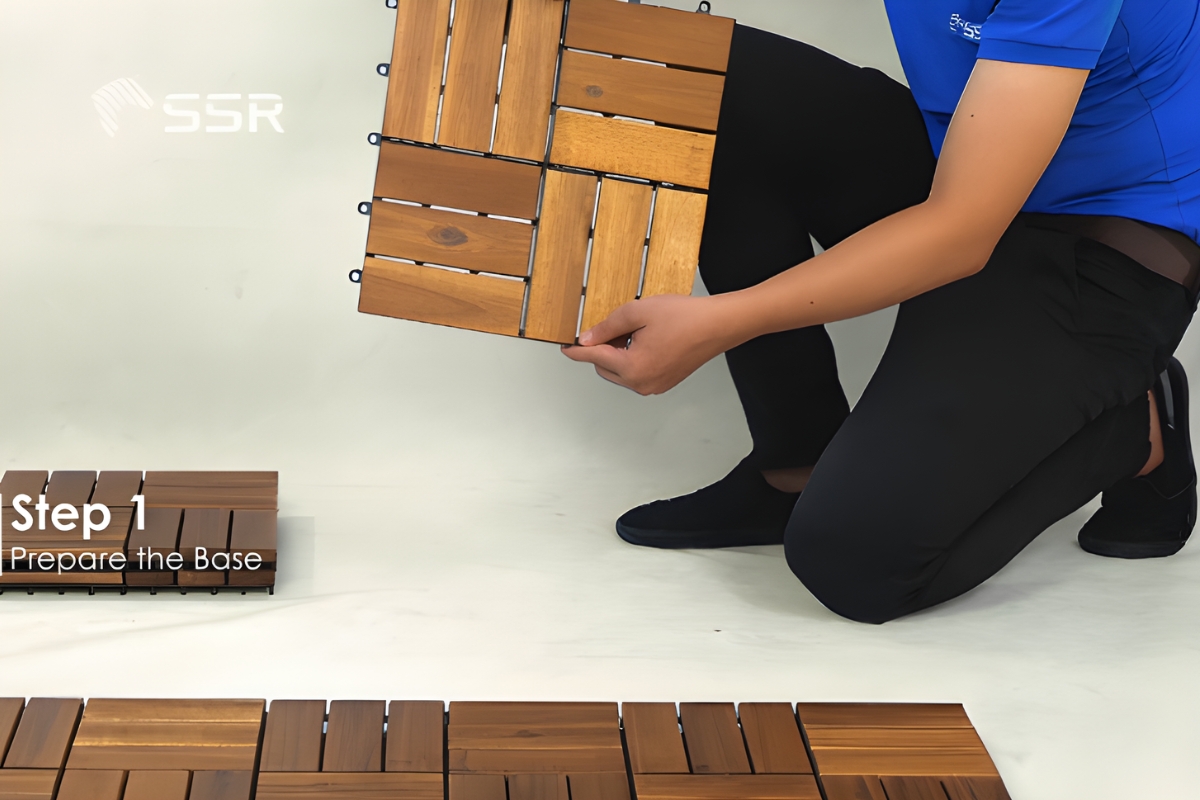
Laying decking tiles on grass_ Step 1
- Clear the area: Mark your deck space and remove all grass, weeds, rocks, and debris.
- Level the ground: Flatten the soil to create a stable surface.
- Add a foundation: Dig down a few inches and fill with compacted gravel or sand for proper drainage.
- Prevent weeds: Place a landscape fabric under the base layer to stop regrowth.
Step 2 – Install the Decking Tiles
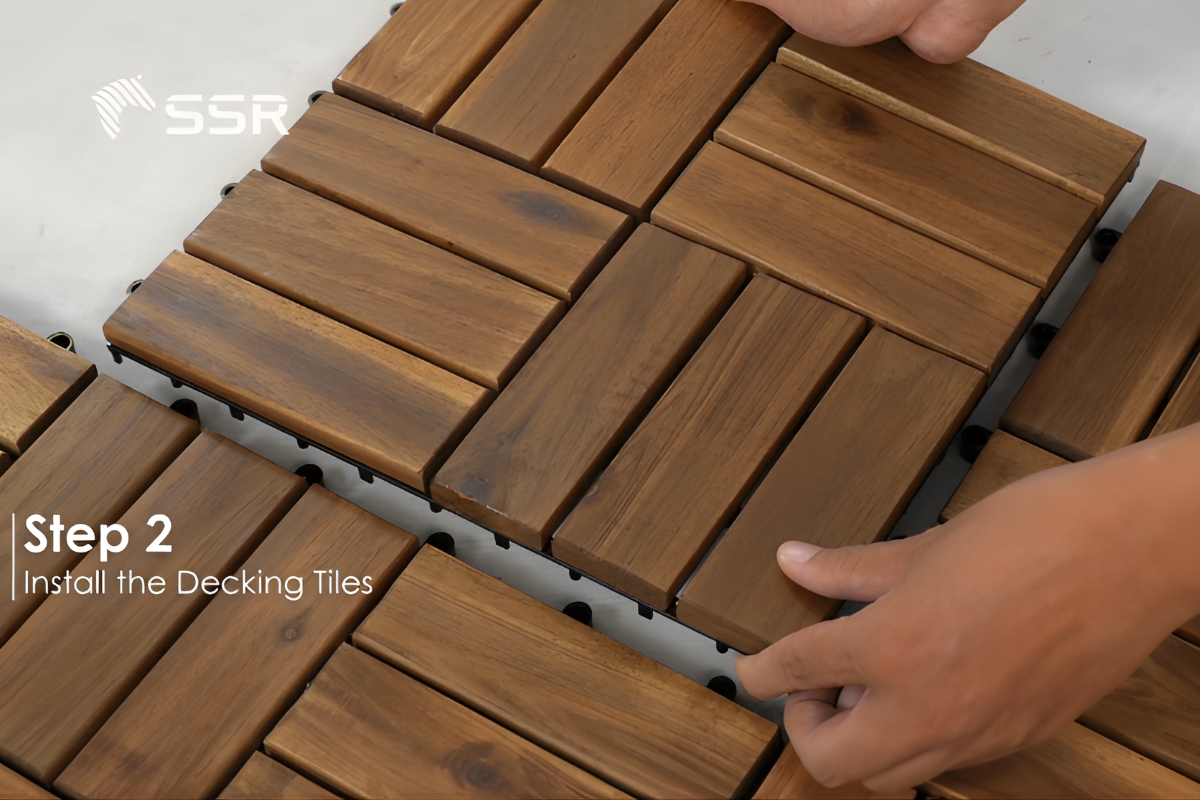
Laying decking tiles on grass_ Step 2
- Start from a corner: Position the first tile and work outward.
- Snap tiles together: Align the interlocking edges and press firmly. A rubber mallet can help secure a snug fit.
- Ensure stability: On uneven patches, place plywood under the tiles for smoother connections.
Step 3 – Add Stability & Finish
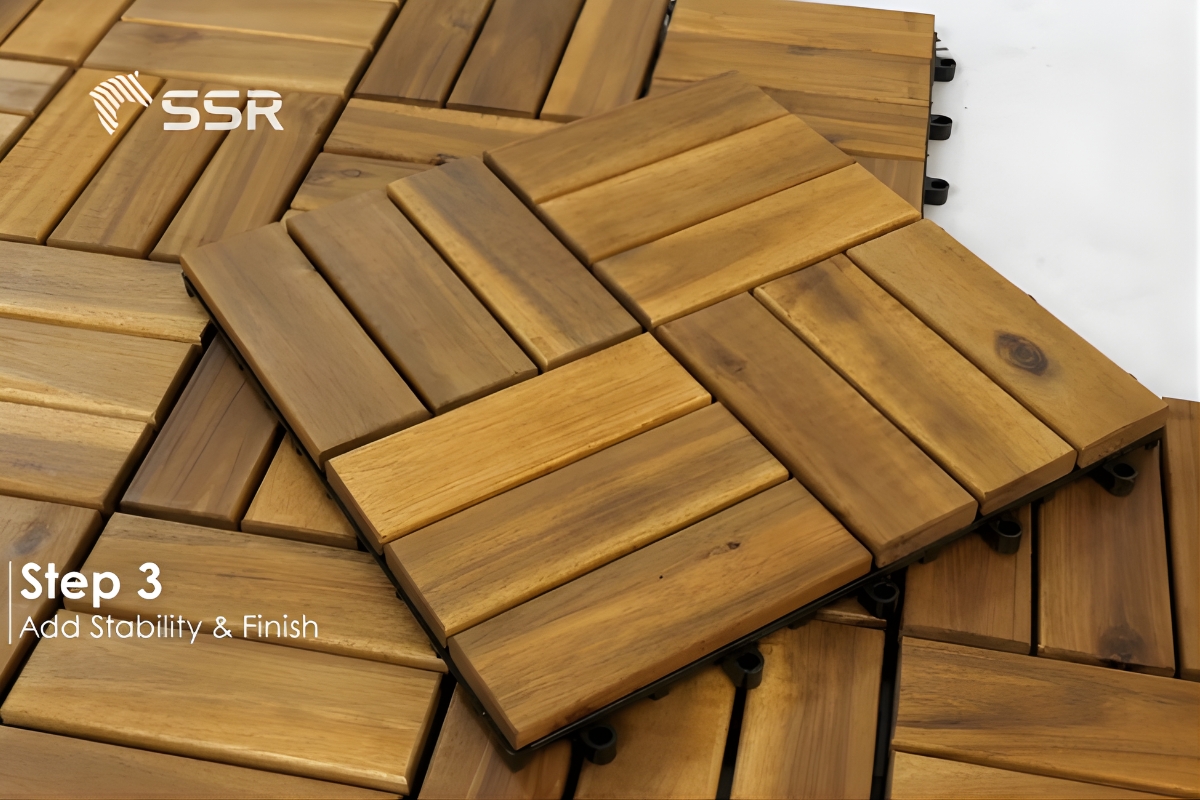
Laying decking tiles on grass_ Step 3
- Frame the edges: Use wood, garden edging, or bricks to keep the tiles from shifting.
- Check levelness: Walk over the surface to ensure it feels even and solid. Adjust the base with extra sand or gravel if needed.
Pro Tips for Easier Installation!
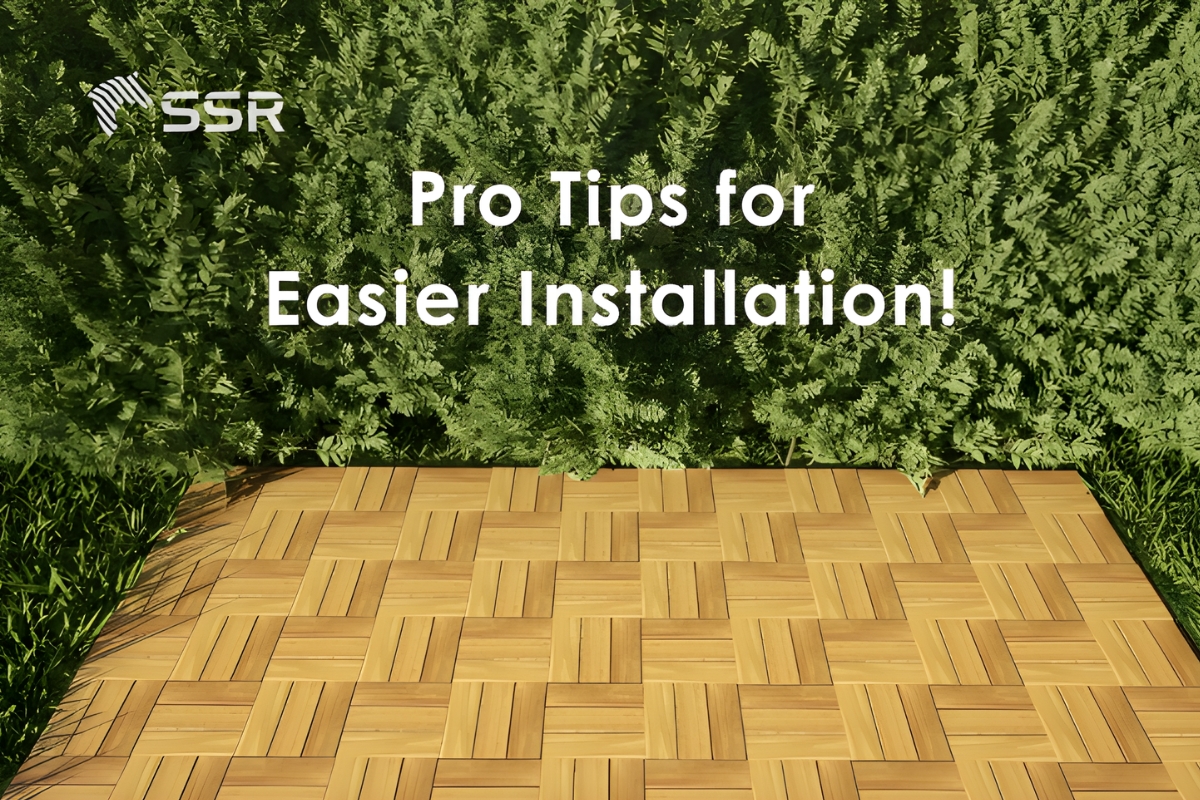
Tips for installing interlocking deck tiles on grass
Even though installing interlocking deck tiles on grass is straightforward, these small tips can save you time and ensure a more professional finish:
- Moisten the soil before leveling: Lightly water the ground before compacting, it makes the soil easier to flatten and reduces dust.
- Use a tamper or hand roller: Compacting the base properly prevents tiles from shifting or sinking over time.
- Check alignment frequently: Every few rows, step back and check the direction of the tiles to keep the pattern straight.
- Leave small gaps for expansion: Wood deck tiles can expand slightly in hot or humid weather. A tiny space at the edges avoids buckling.
- Cut tiles with a saw for perfect edges: For neat borders, trim tiles to fit around garden beds or uneven shapes.
- Plan drainage in advance: Slightly slope the base away from the house or main building so rainwater doesn’t pool under your instant deck on grass.
- Test weight load: If the deck is for commercial use (cafés, resort dining), place heavy furniture on one corner first to make sure the ground is solid.
Conclusion
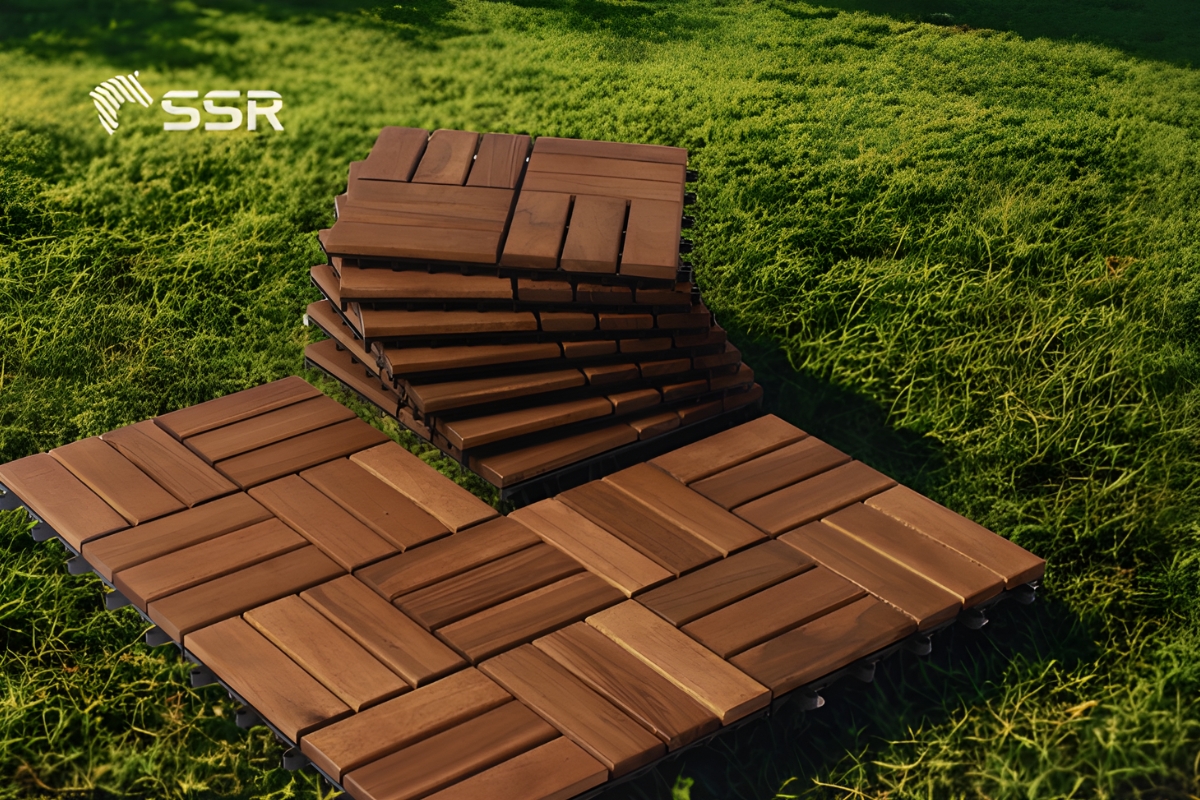
Instant deck on grass
Whether you’re a homeowner wanting a weekend DIY project or a retailer sourcing products for your shelves, knowing how to lay decking tiles on grass opens up versatile outdoor solutions. With proper ground preparation and the right type of tile, you can create a functional, attractive space in hours with no heavy construction required.
FAQs

instant deck on grass faq
Can you lay decking on top of grass?
Yes, but the grass must be removed or leveled first. Directly placing tiles over soft ground can lead to shifting and uneven surfaces.
Do you need to remove grass under decking?
For the best results, yes. Removing grass and adding a gravel or sand base ensures stability and prevents regrowth.
How do you prepare ground for interlocking deck tiles?
Clear grass, add a layer of compacted gravel or sand, and lay weed control fabric before snapping tiles into place.
What do you put between a deck and grass?
A base of gravel or paver sand with landscape fabric is recommended to provide drainage and block weeds.
Can you put a floating deck on grass?
A true floating deck needs a stable base. Deck tiles create the effect of a floating deck on grass but still require soil preparation.
How to put decking down on grass?
Prepare the ground, lay the foundation, snap the tiles together, and finish with edging for long-term durability.
Featured Products
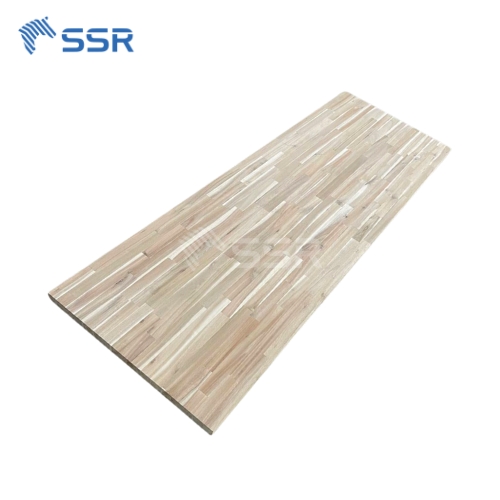
Acacia Wood Butcher Block Countertops Supplier
Specifications:
- Species: Acacia
- Moisture: < 12%
- Wood Stave (Length): 150-400 mm
- Wood Stave (Width): 30-80 mm
- Length & Width tolerance: 0/+3 mm
- Thickness tolerance: +/- 0.2 mm
- Glue: D4
- Quality: AB, BC or customized
- Surface finish: Sanding 180-240 grit, 2 faces

Rubberwood Finger Joint Board Supplier
- Species: Rubberwood
- Moisture: <12 %
- Wood Stave (Length): 150-600 mm
- Wood Stave (Width): 35-80 mm
- Length & Width tolerance: 0/+3 mm
- Thickness tolerance: +/- 0.2 mm
- Glue: D4
- Quality: AA, AC or customized
- Surface Finish: sanding 240-320 grit, 2 faces

Birch Butcher Block Countertop Supplier
Specifications:
- Species: Birch
- Moisture: < 12%
- Wood Stave (Length): 150-400 mm
- Wood Stave (Width): 20-80 mm
- Length & Width tolerance: 0/+3 mm
- Thickness tolerance: +/- 0.2 mm
- Glue: D4
- Quality: AB, AC or customized
- Surface finish: Sanding 180-240 grit, 2 faces.
Featured News

Related News

SSR Concludes a Visit to Carrefour International du Bois 2026, Strengthening Its Presence in the European Market
From June 4–6, 2026, SSR had the opportunity to attend Carrefour International du Bois 2026, one of Europe’s most important events dedicated to the wood and timber industry. Held in Nantes, France, the exhibition brought together manufacturers, importers, distributors, retailers, architects, and sourcing professionals from across Europe and around the world. For SSR, the event […]


Meet Our Factory Managers: The People Who Keep SSR Wood Factory Running Strong
Behind every successful shipment from SSR Wood Factory, there is a management team working closely with production workers, QC staff, warehouse teams, and shipment planners. Our Factory Managers play an important role in daily operations. They follow production schedules, check material readiness, monitor each production line, and support workers when issues need to be solved […]